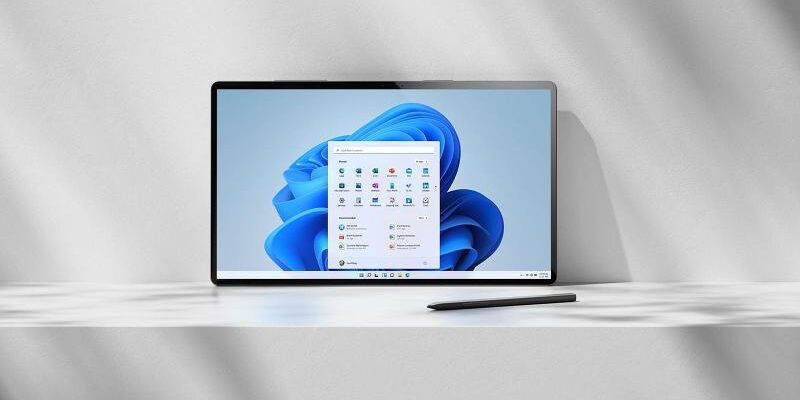
Microsoft just rolled out the first beta of Windows 11. The new OS first test is now available to those who enrolled in its Windows Insider Program. This will now be easier for users who were never able to access the system other than through the Developer Preview. According to Microsoft, this was only meant for “highly technical users” as it was riskier to have.
Luckily, this current beta is promised to be much more stable. However, it will be no surprise to find a number of crashes, bugs and missing features. The software giant even has a whole list of the issues you can expect in its latest blog post.
If you have been eager to finally see what Windows 11 looks like, this might be the best time before more beta versions are released. But you still have to make sure that your PC meets all the necessary hardware requirements as there is no way of getting around that.
How To Install Windows 11 Beta
- Go to Settings. Click Update & Security.
- Scroll down the Update & Security navigation bar and click Windows Insider Programme.
- In the main window to the right, you will be prompted to sign in with your Microsoft User Account.
- There are three channels that you can choose from based on why you want the preview. From safest to most risky they are Release Preview, Beta and Dev.
- Select Beta Channel and Confirm.
- Restart your PC.
- Head on to Settings again then Update & Security and click Check for Updates.
- If your PC meets all the requirements, the installation will begin. Follow the steps given later and the new OS will be there for you.


Comments