Once in a while, we want to view the contents on a smartphone screen on a bigger display. And as much as we all know how to cast a phone display on a TV, not many know how to do it on a Windows 10 PC.
Luckily, a 2016 Windows 10 Anniversary Update introduces a new Connect app. This software lets users cast their Android or Windows 10 Mobile’s screen to their Windows 10 PC. To cast your Android screen to your PC, just follow the steps below:
- Open the notification bar on your Android device.
- Expand the quick actions section.
- Tap the Cast button.
- Tap on More Settings from the Cast section.
- Search and open the Connect app on your PC.
- After that, make sure wireless display is enabled on your Android phone by tapping on the More icon from the top.
- Wait for your Android phone to find your PC.
- Once your PC shows up, just click on it and it’ll start connecting.
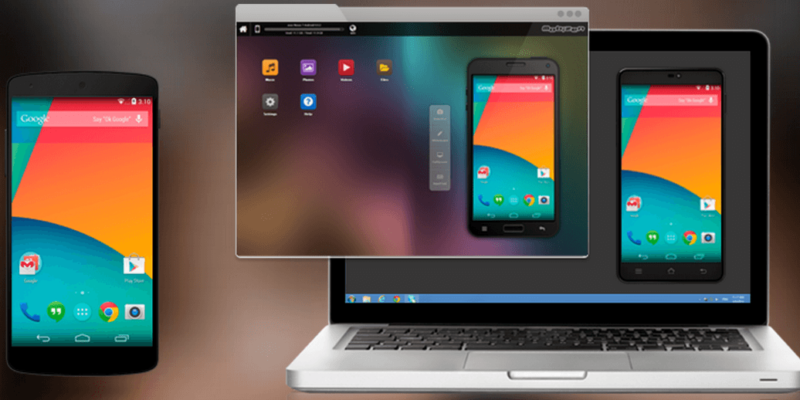
- Once connected, you should be able to see your Android screen on your PC as shown in the screenshot below.
Casting is a very nice feature in the Anniversary Update that is also available for Windows Mobile devices. However, if you want to cast your Windows Phone’s screen to your PC, you are better off using Project My Screen from Microsoft which offers a better experience.
Start off your week with tech news recap and trending conversations in your inbox
If you still want to use the Connect app in Windows 10, just open the Action Center on your Windows Mobile device, Expand the Quick Actions panel, and click on Connect. There, you will be able to find your PC and cast your Windows 10 Mobile’s screen to your PC.


Comments