
If you’re like me, you take down a lot of notes on your laptop or have a lot of typed work to do. So, what if I told you there was a way to make things 100x easier? Well, Microsoft Word now lets you transcribe your work.
The new tool works with recorded audio, live speaking and can detect different speakers. It’ll also allow you to pull quotes from the transcription and insert them as you please into the document. This one goes out to those at Microsoft… It took y’all long enough…
Microsoft Word Transcribe Tool
Before we get started, there’s a catch. The Transcribe tool is only available on the online version of Word. Also, it’s only useable by those that subscribe to Microsoft 365.
Start off your week with tech news recap and trending conversations in your inbox
Nevertheless, there are plans to bring it to Word mobile at some point in the future. So till then, how do you actually use the Transcribe tool?
How the Transcribe Tool Works
- Go to the online version of Word.
- Open up either a new document or the one you wish to add a transcription to.
- You’ll see a microphone option in the tool ribbon at the top of the screen, with the word “Dictate”.
- Click the arrow next to it, and the “Transcribe” option should appear in the drop-down menu.
The upload feature accepts .wav, .mp4, .mp3, and .m4a files. Keep in mind that if you use the upload feature, you can only upload five hours of recordings per month.
The audio will be segmented into sections and to edit each section, click the pencil icon next to it. You can correct punctuation, or individual words the transcription may have missed.
If you wish to add the whole recording to your document, click the button at the bottom of the window. There’s a limit of only one transcription per document. You’ll be encouraged to open a new document for transcription if you’ve got more than one recording.
This might make you consider subscribing to Microsoft 365.
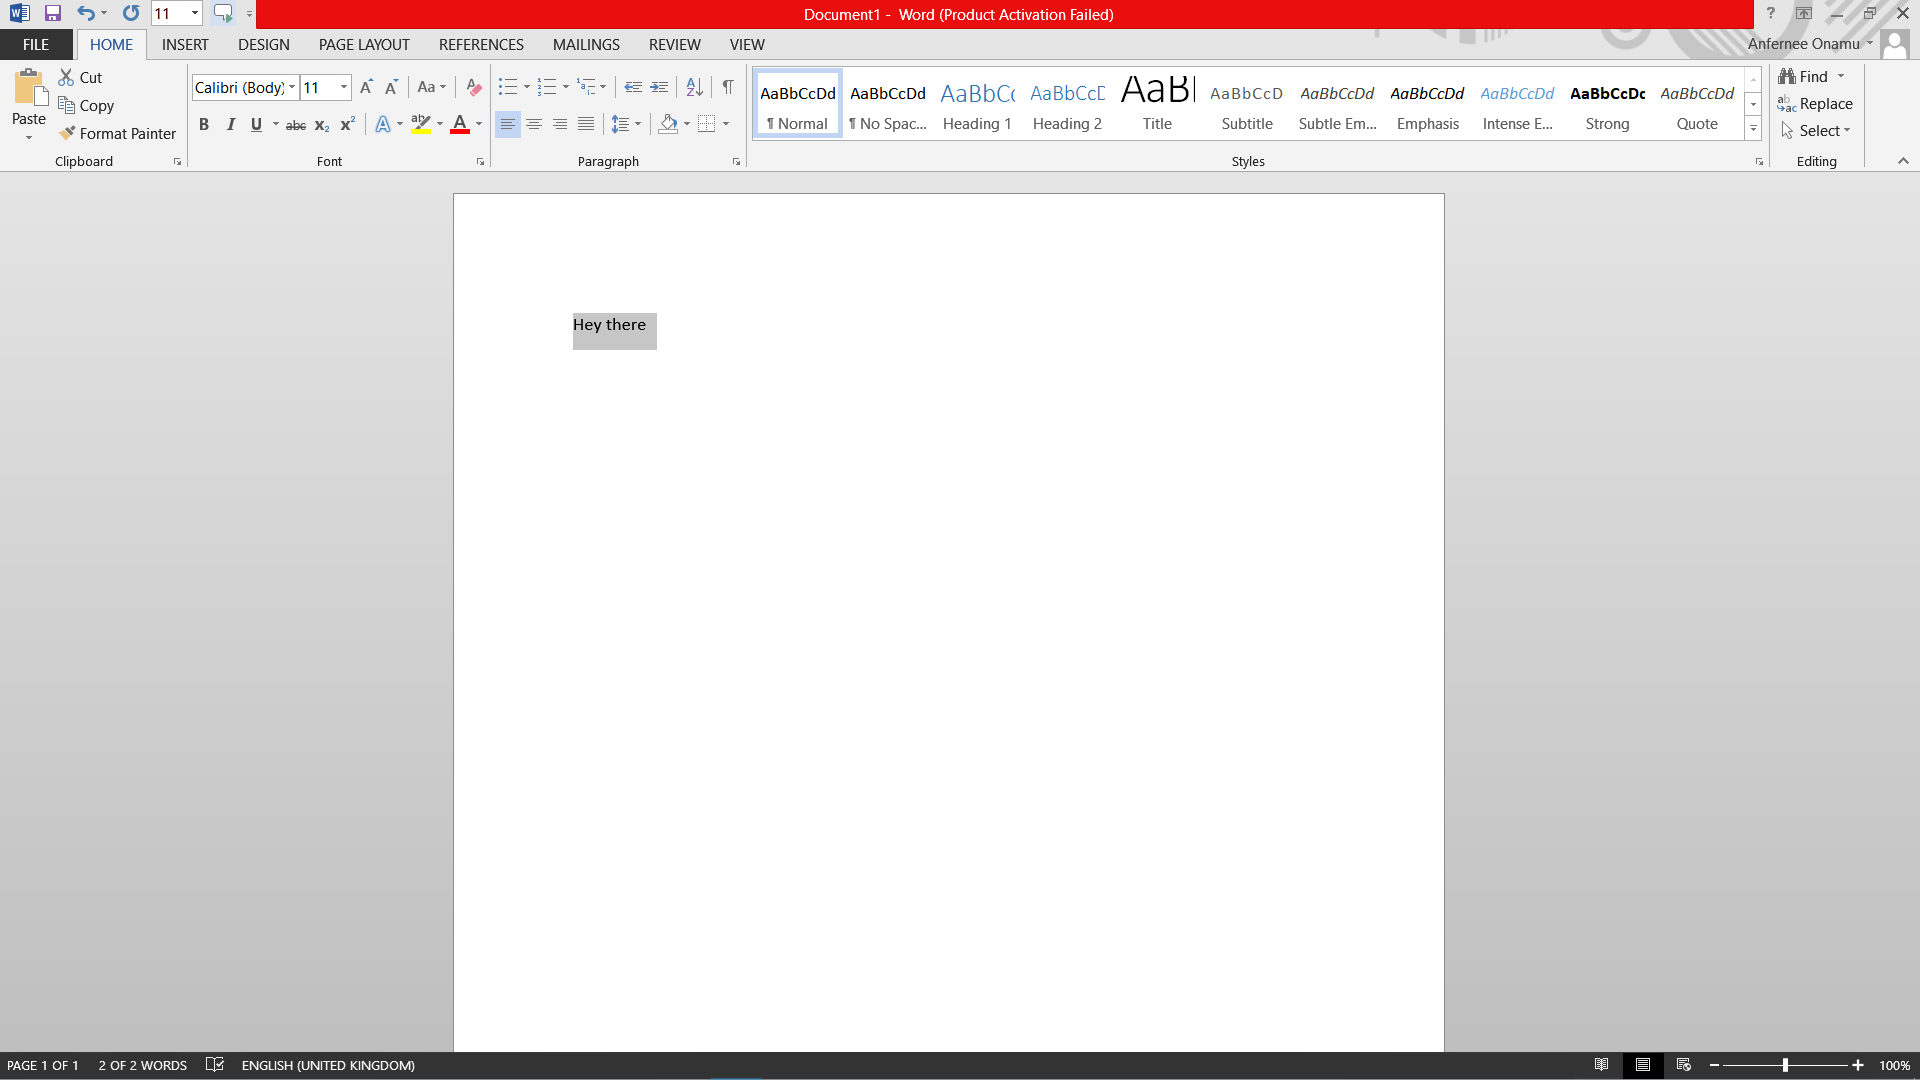
Well, I’m not going to leave you hanging… If you made it this far, you deserve a prize. Did you know you could have Microsoft Word dictate your work to you?
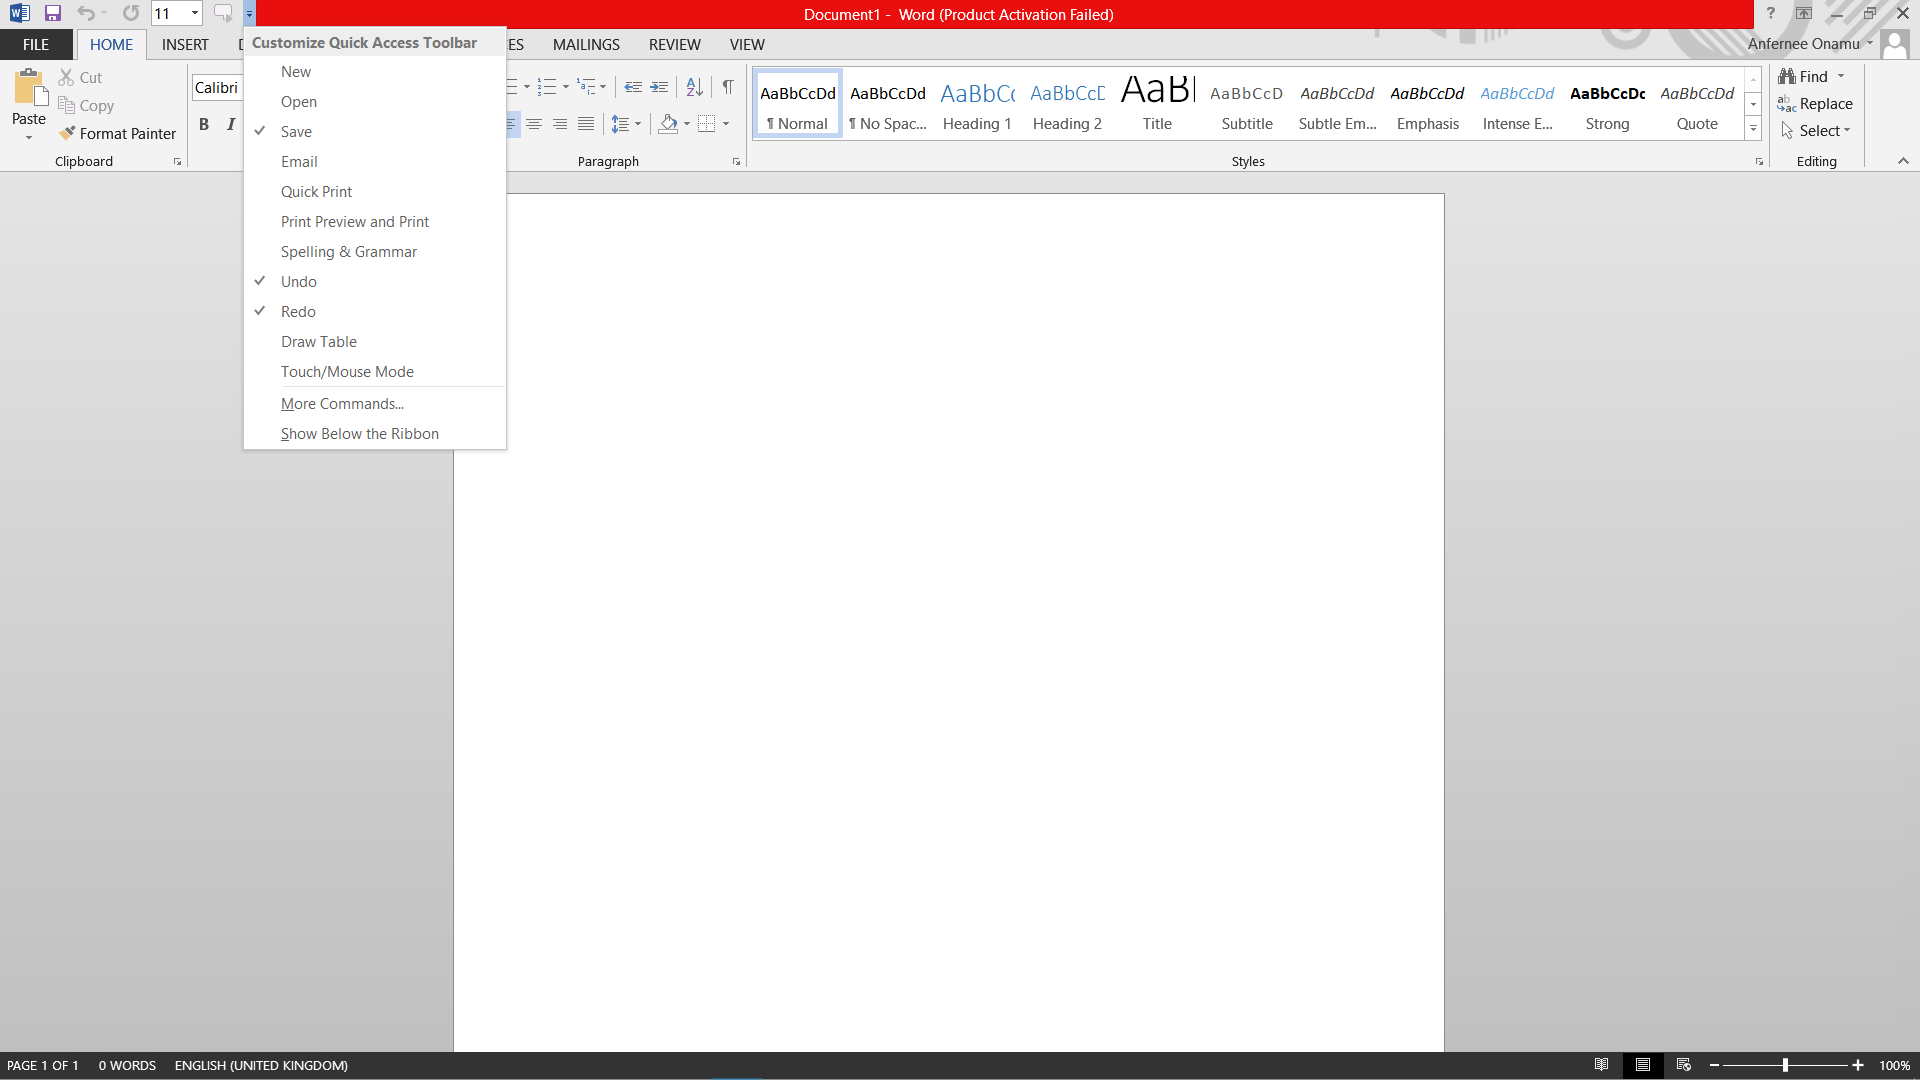
- Click the tiny downwards pointing arrow as shown below:
- Click on the images for a clear view
-
-
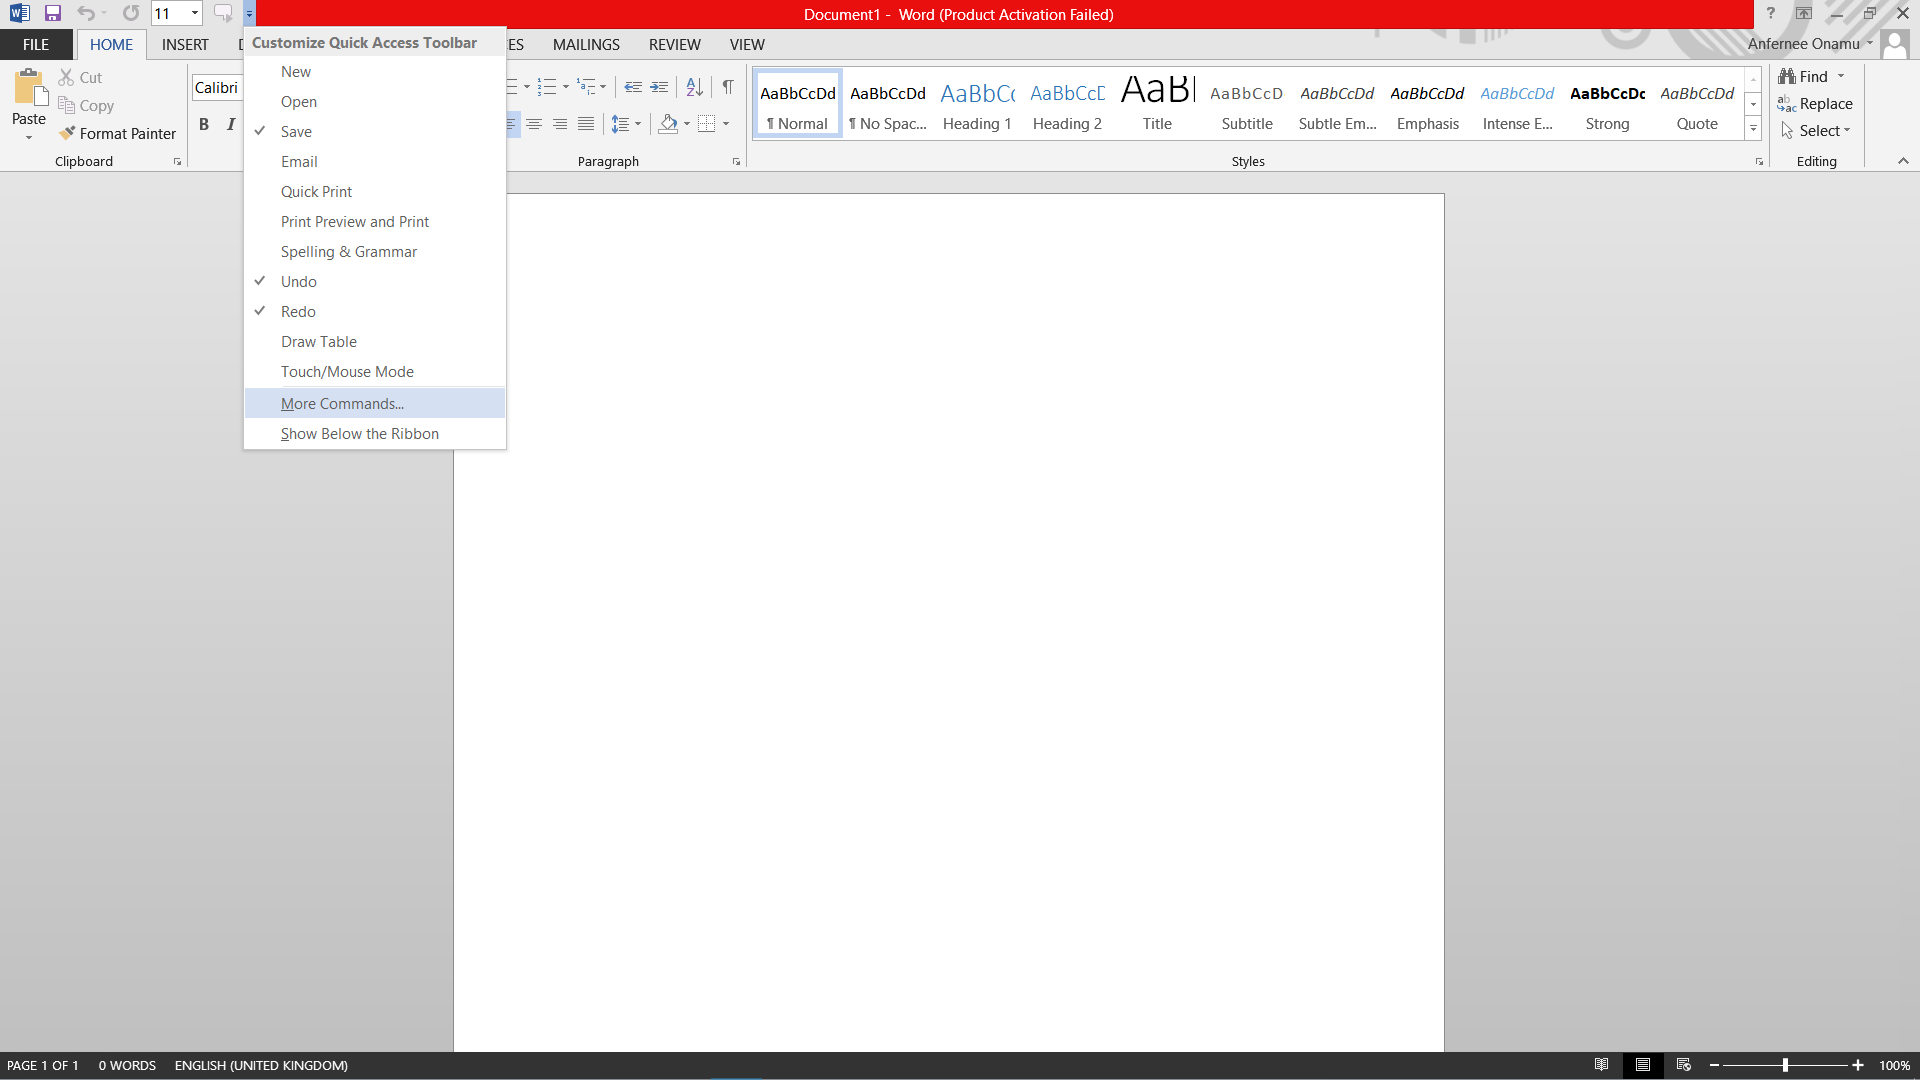
- Head down to More Commands
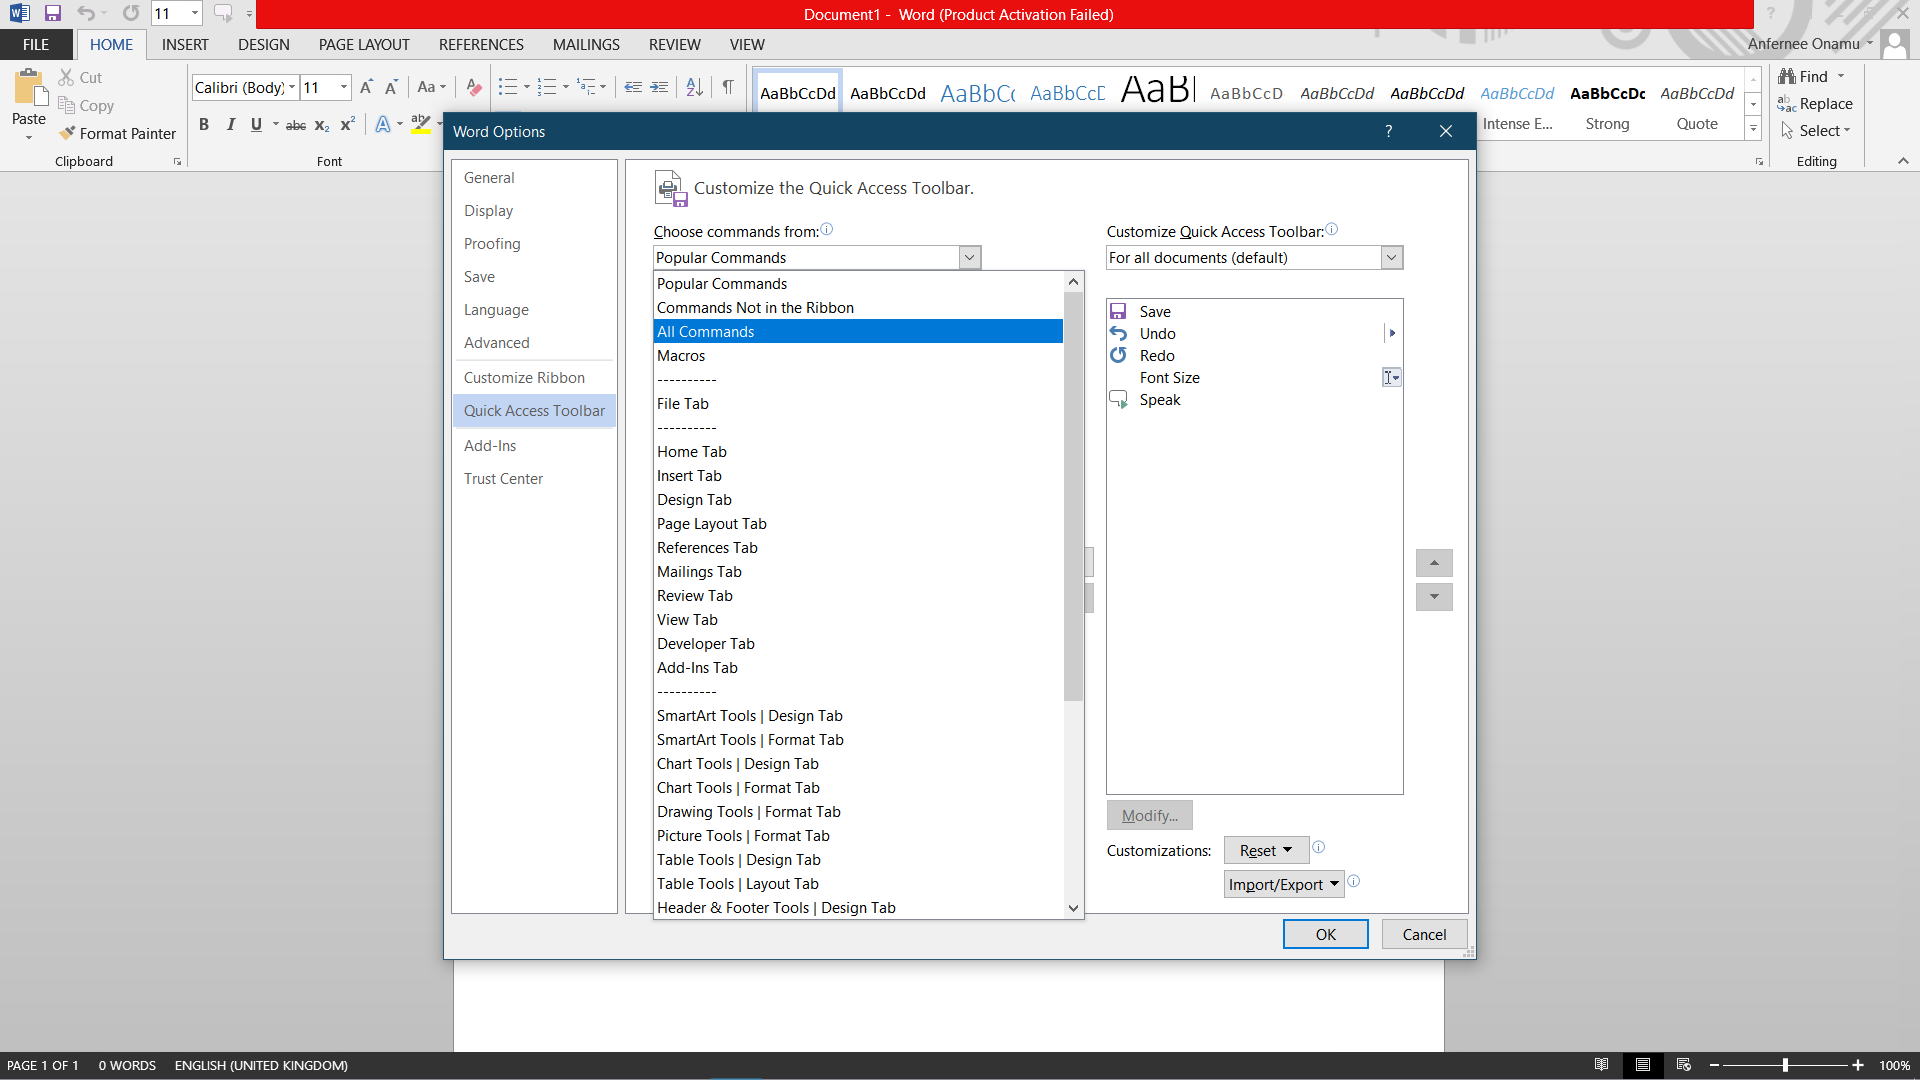
- Here you’ll see a bar Named ‘Commands from’. Click on the drop-down arrow and select all commands
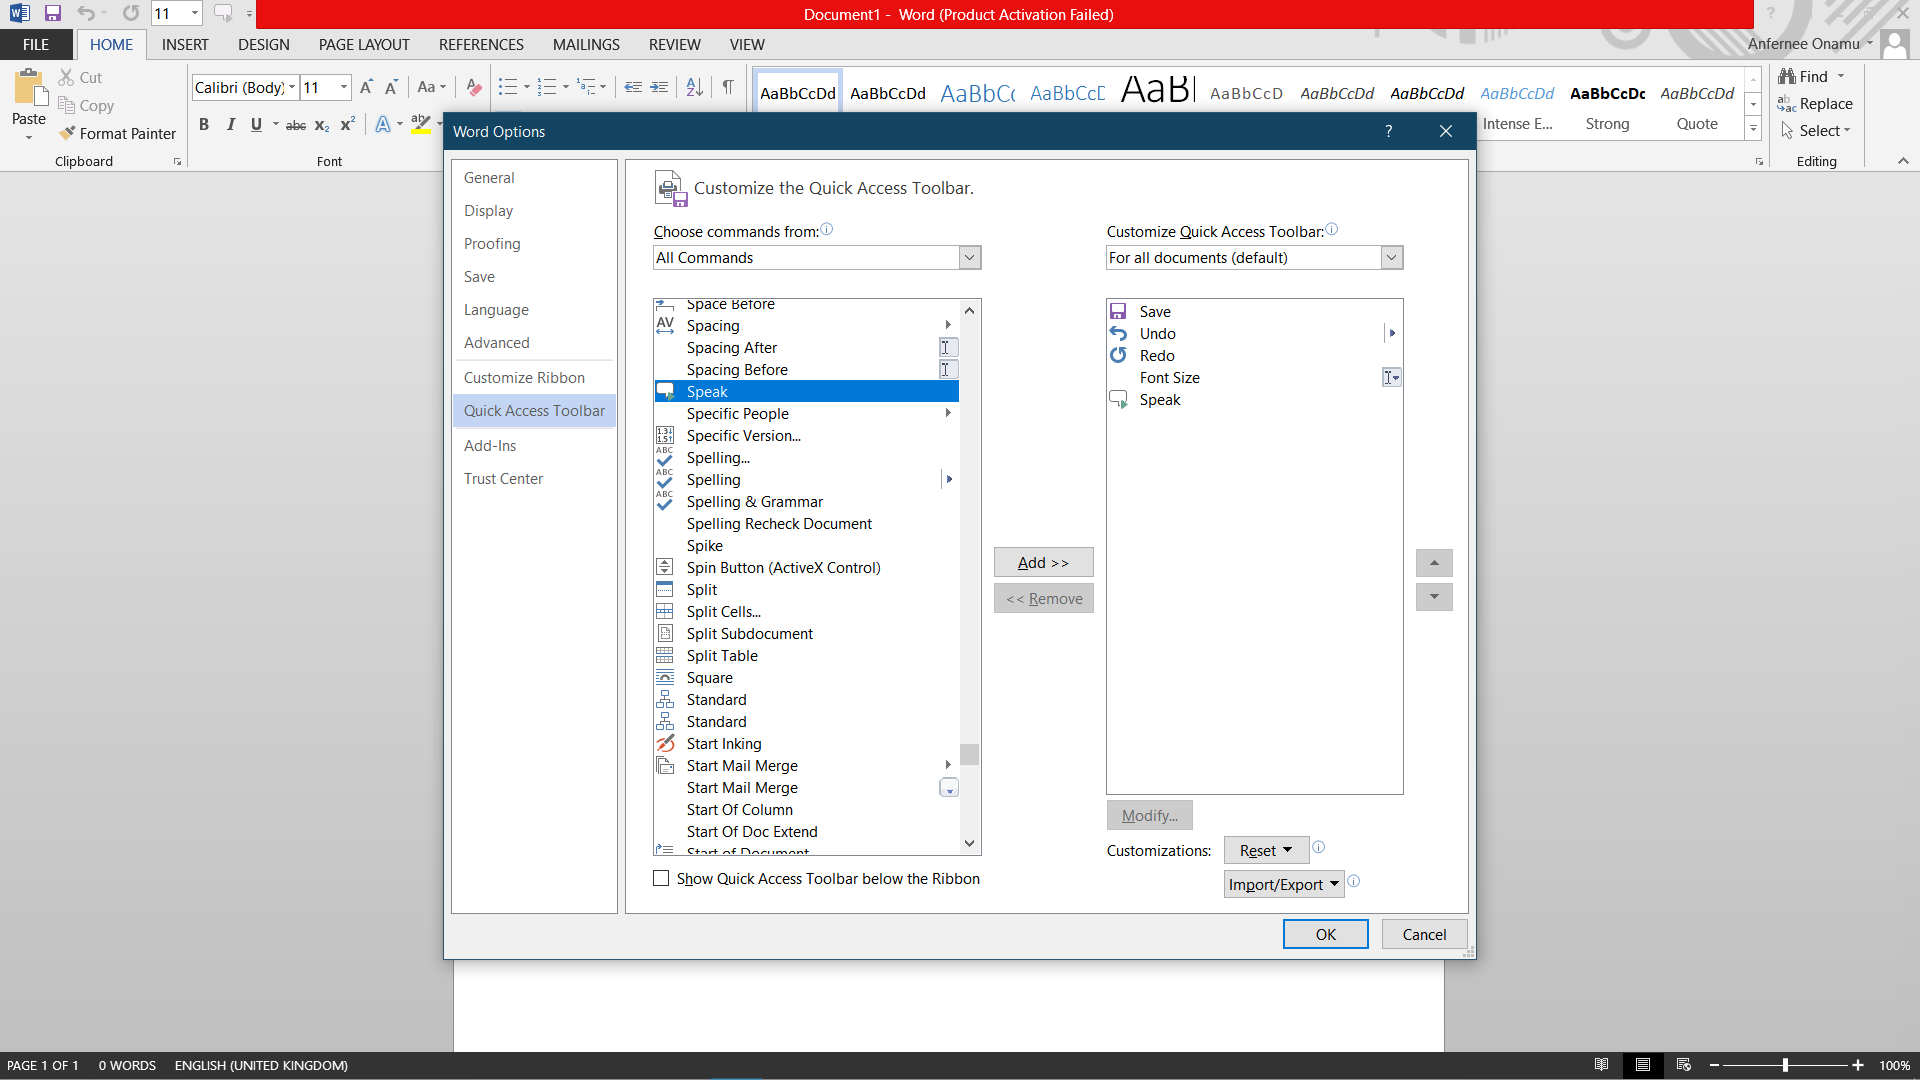
- Scroll down to ‘Speak’
- Add it and click ok
- You should see it at the top left corner. A text bubble of sorts
- To activate it, select all the text (CTRL+A) then click on the text bubble
- Viola. Your own personal lecture.


Comments